Build a Fact-Checker AI Agent with Tavily + LangGraph
- 13 minsIntroduction
AI agents are quickly becoming the backbone of intelligent applications. Unlike simple chatbots, an AI agent doesn’t just respond; it plans, takes actions, and uses tools to solve problems. Think of it like giving your AI “Superpowers” to search, fetch, and reason.
One of the most exciting applications of AI agents is fact-checking. Large Language Models (LLMs) are powerful, but they sometimes hallucinate answers and confidently make things up. A fact-checking agent solves this by combining:
- Search → Gather real-world evidence
- Reasoning → Analyze that evidence
- Verdict → Return an answer that’s grounded in facts, not guesses
This is exactly the kind of workflow developers want when building trustworthy AI apps.
Why Tavily + LangGraph?
To make our fact-checker fast and reliable, we’ll use two developer-first tools:
Tavily – The Search Engine for AI Agents
- Tavily offers a search API optimized for LLMs and AI workflows
- Unlike generic search APIs, Tavily provides clean, structured, AI-ready results
- This makes it easier for agents to pull evidence without noisy or irrelevant data
LangGraph – The Framework for Agent Workflows
- LangGraph lets you design stateful agent flows
- Instead of writing messy if/else code, you define nodes (steps) and edges (connections)
- Perfect for multi-step reasoning
Together, Tavily and LangGraph give you the building blocks for reliable, production-grade agents without drowning in complexity.
What You’ll Build
In this tutorial, you’ll create a fact-checking AI agent that:
- Takes a user claim
- Uses Tavily Search to collect evidence
- Lets LLM (Google Gemini) analyze the evidence
- Returns a verdict: TRUE, FALSE, or PARTIALLY TRUE with explanation + sources
By the end, you’ll have a working fact-checker AI agent running in your terminal powered by Tavily.
Prerequisites
Before we dive in, here’s what you need:
-
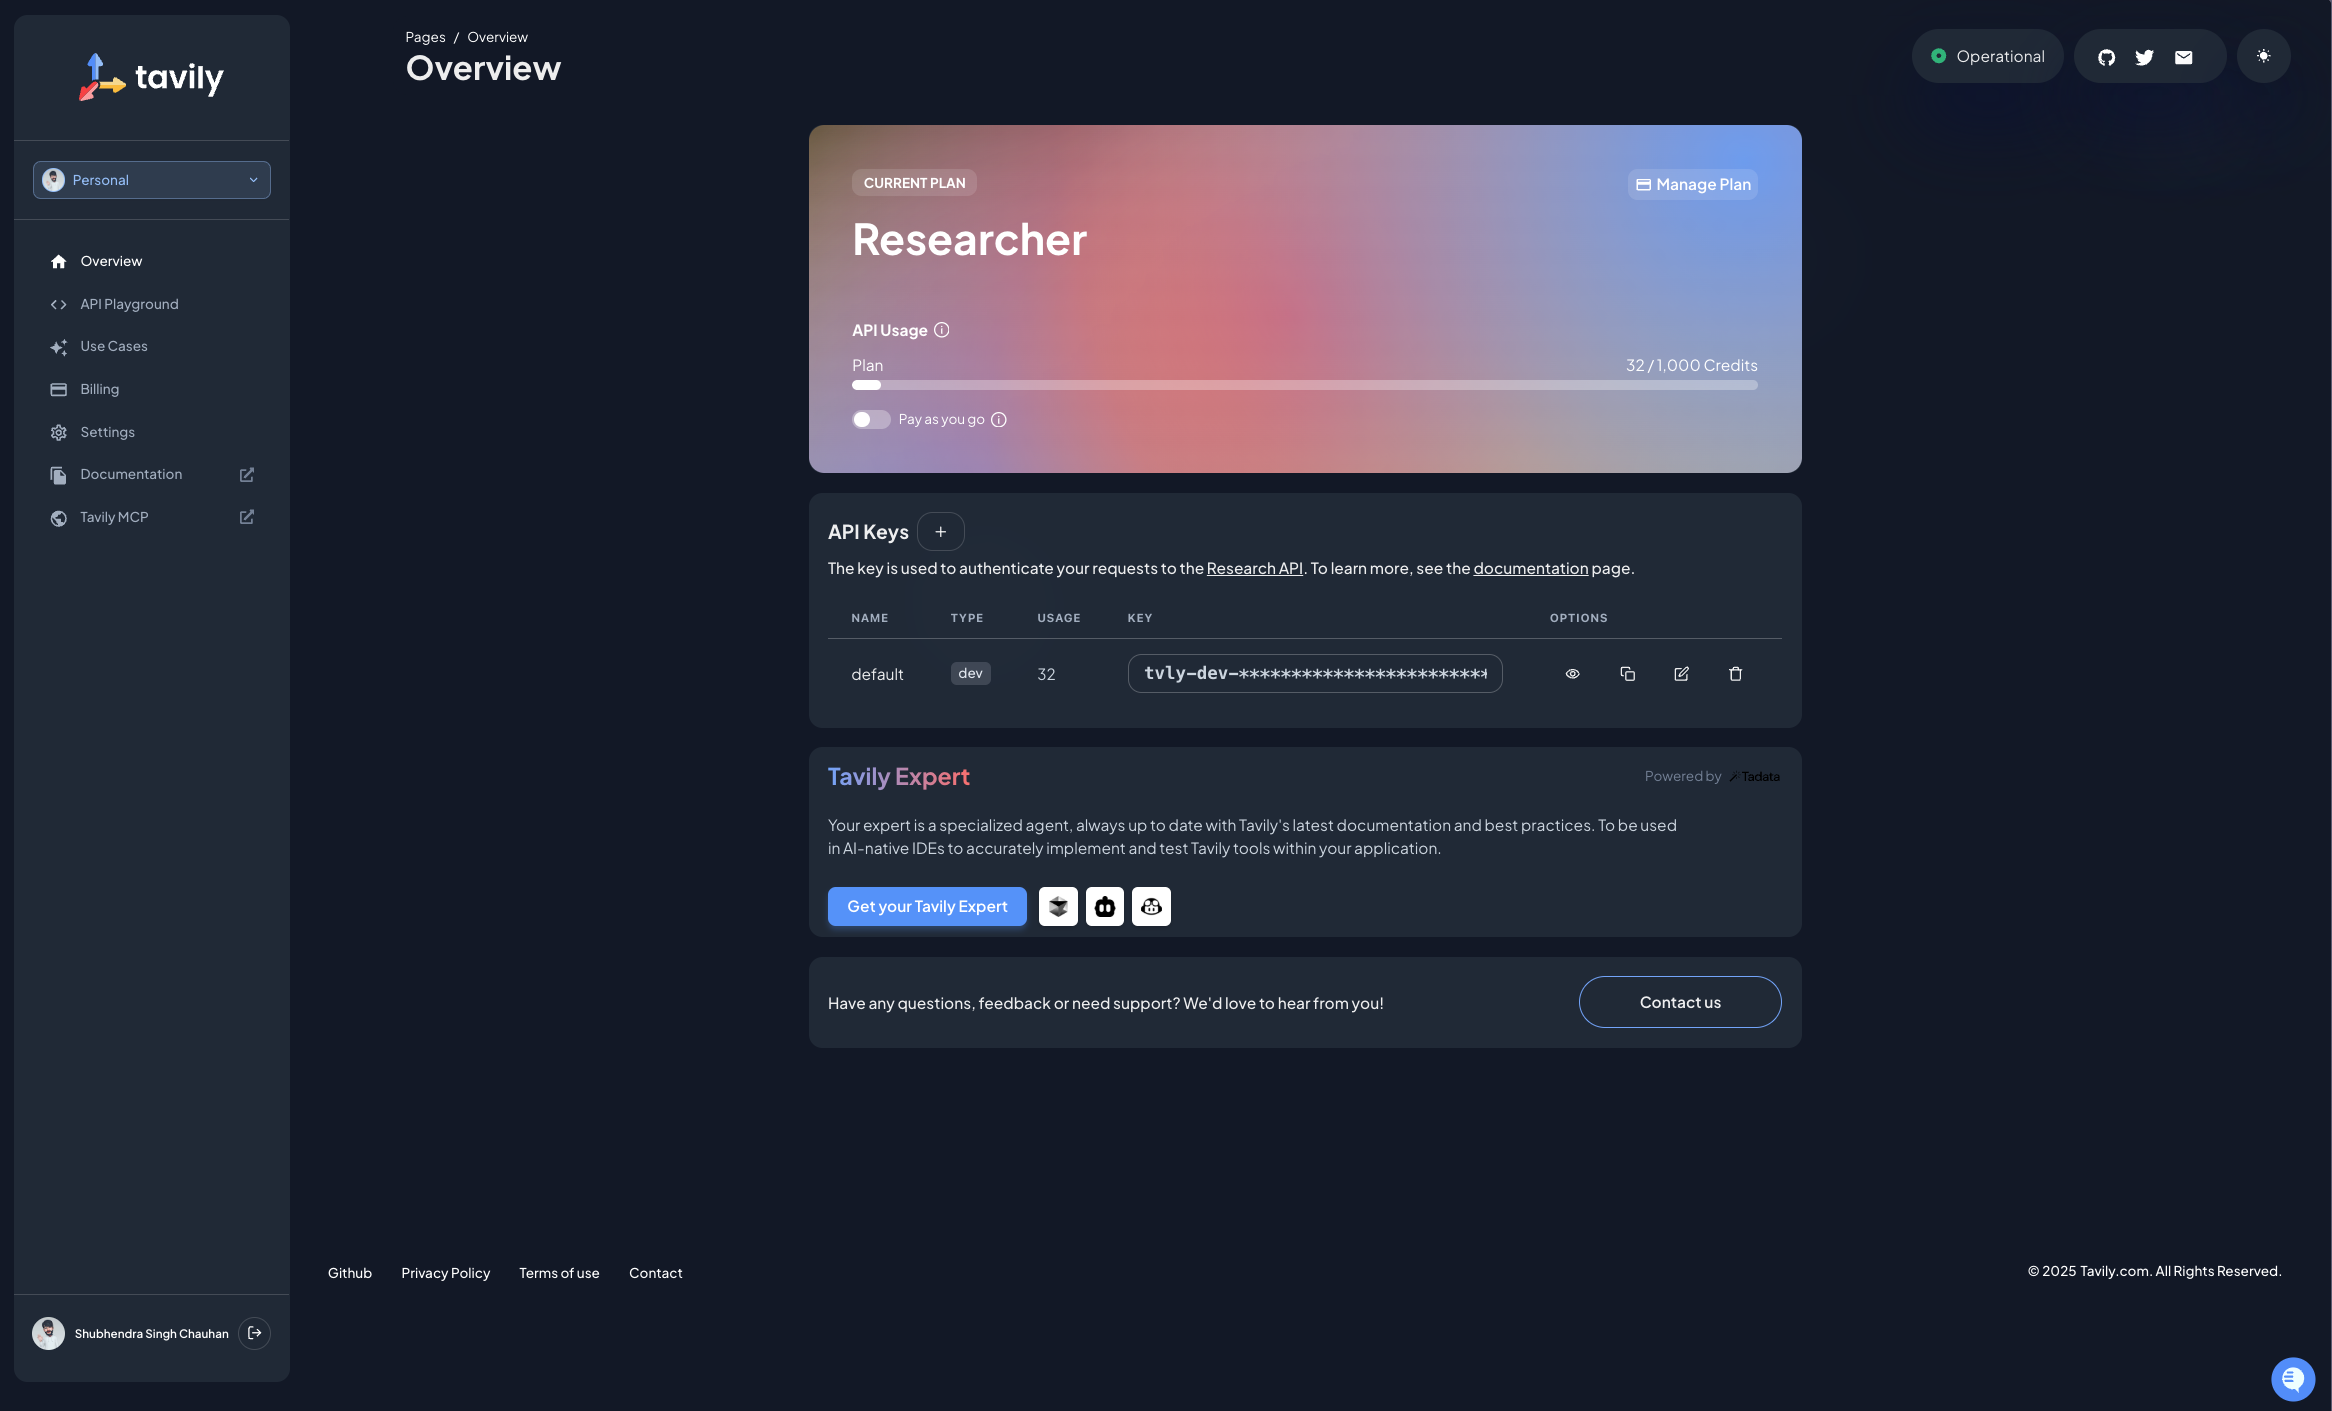
Tavily account + API key (Sign up free): After creating your account, navigate to the dashboard where you’ll find a default API key. You can create a new API key specifically for this project to keep things organized.
-
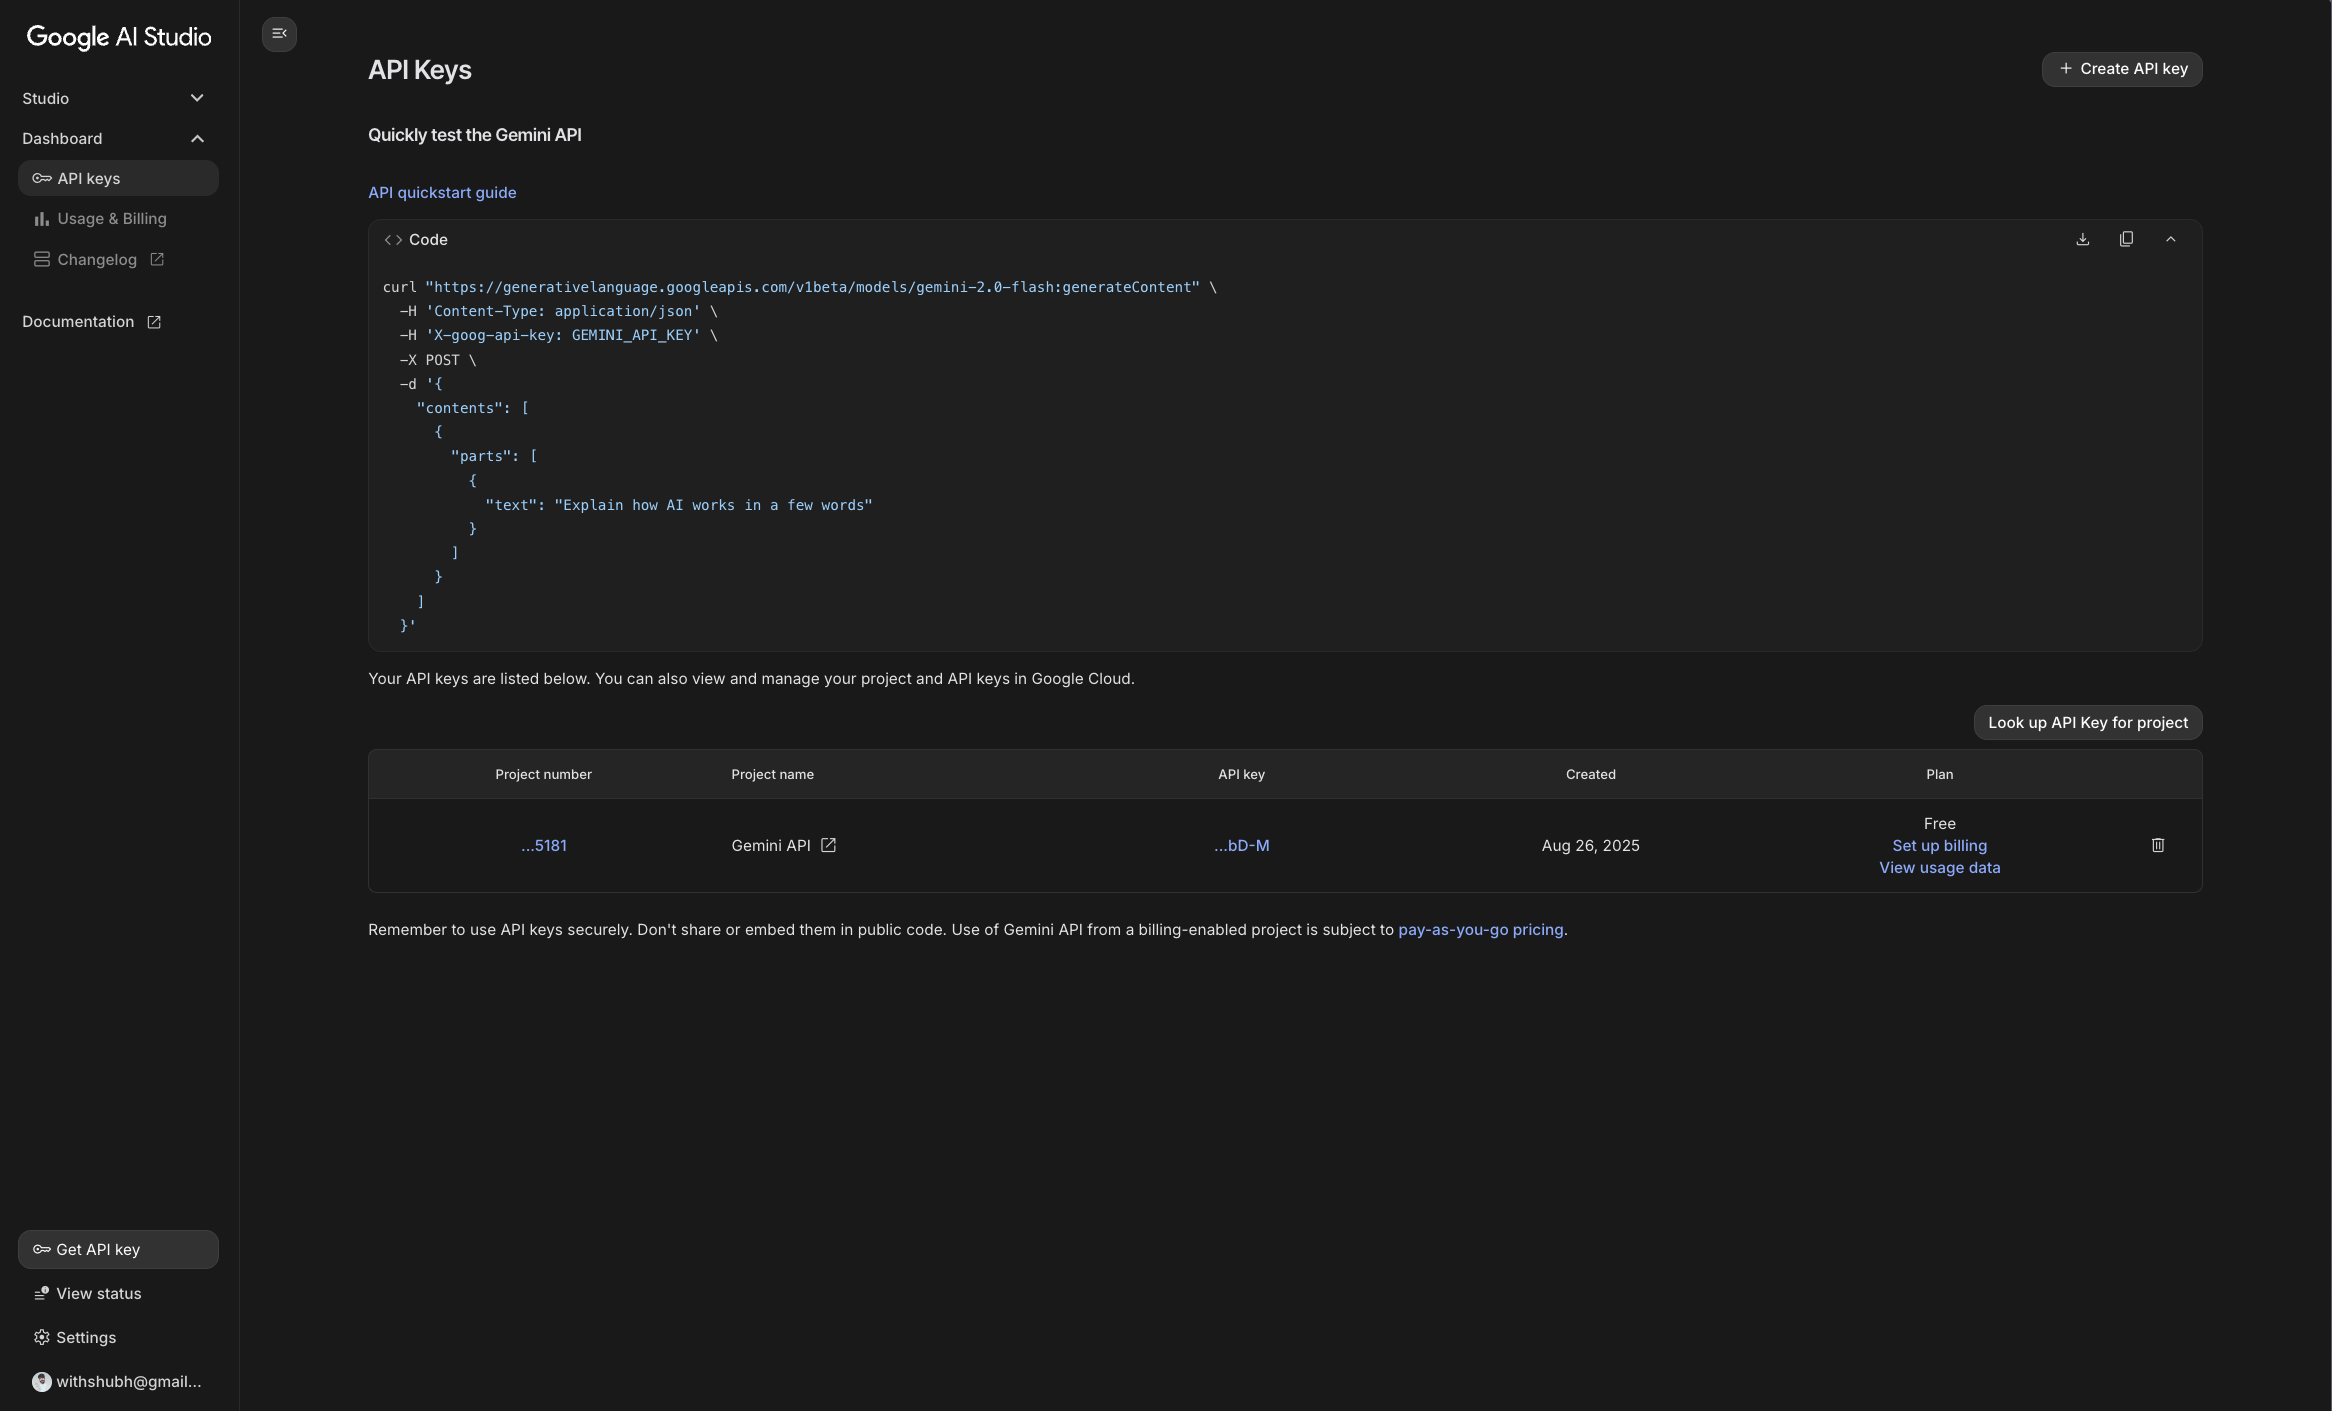
Google Gemini API key (Google AI Studio): Once signed in to Google AI Studio, you can navigate to the API Keys section under Dashboard in the left sidebar to generate an API key.
Note: You don’t have to use Google Gemini specifically; LangGraph is model agnostic so you can use any compatible LLM.
-
Python and pip installed: You can check if Python is installed by running
python3 --versionandpip3 --version, if not, you can install it from python.org. -
Code editor: I have used Visual Studio Code but you can use any code editor you prefer.
Step 1: Set Up Your Environment
Let’s prepare our Python environment. Using a virtual environment (venv) is best practice, since it keeps dependencies isolated.
# Create a project folder
mkdir factchecker && cd factchecker

# Create a virtual environment
python3 -m venv .venv

# Activate the environment. This ensures that any packages you install are contained within this environment.
source .venv/bin/activate   # Mac/Linux
.venv\Scripts\activate      # Windows
Now, install the required libraries:
# Install dependencies
pip3 install -U langgraph langchain langchain-tavily python-dotenv

# Also install Gemini integration
pip3 install -U langchain-google-genai
This pulls in:
- LangGraph: For designing agent workflows
- LangChain: For chaining LLM calls
- LangChain-Tavily: For integrating Tavily search
- Python-Dotenv: For managing environment variables
- LangChain-Google-GenAI: For integrating Google Gemini
Step 2: Configure Environment Variables
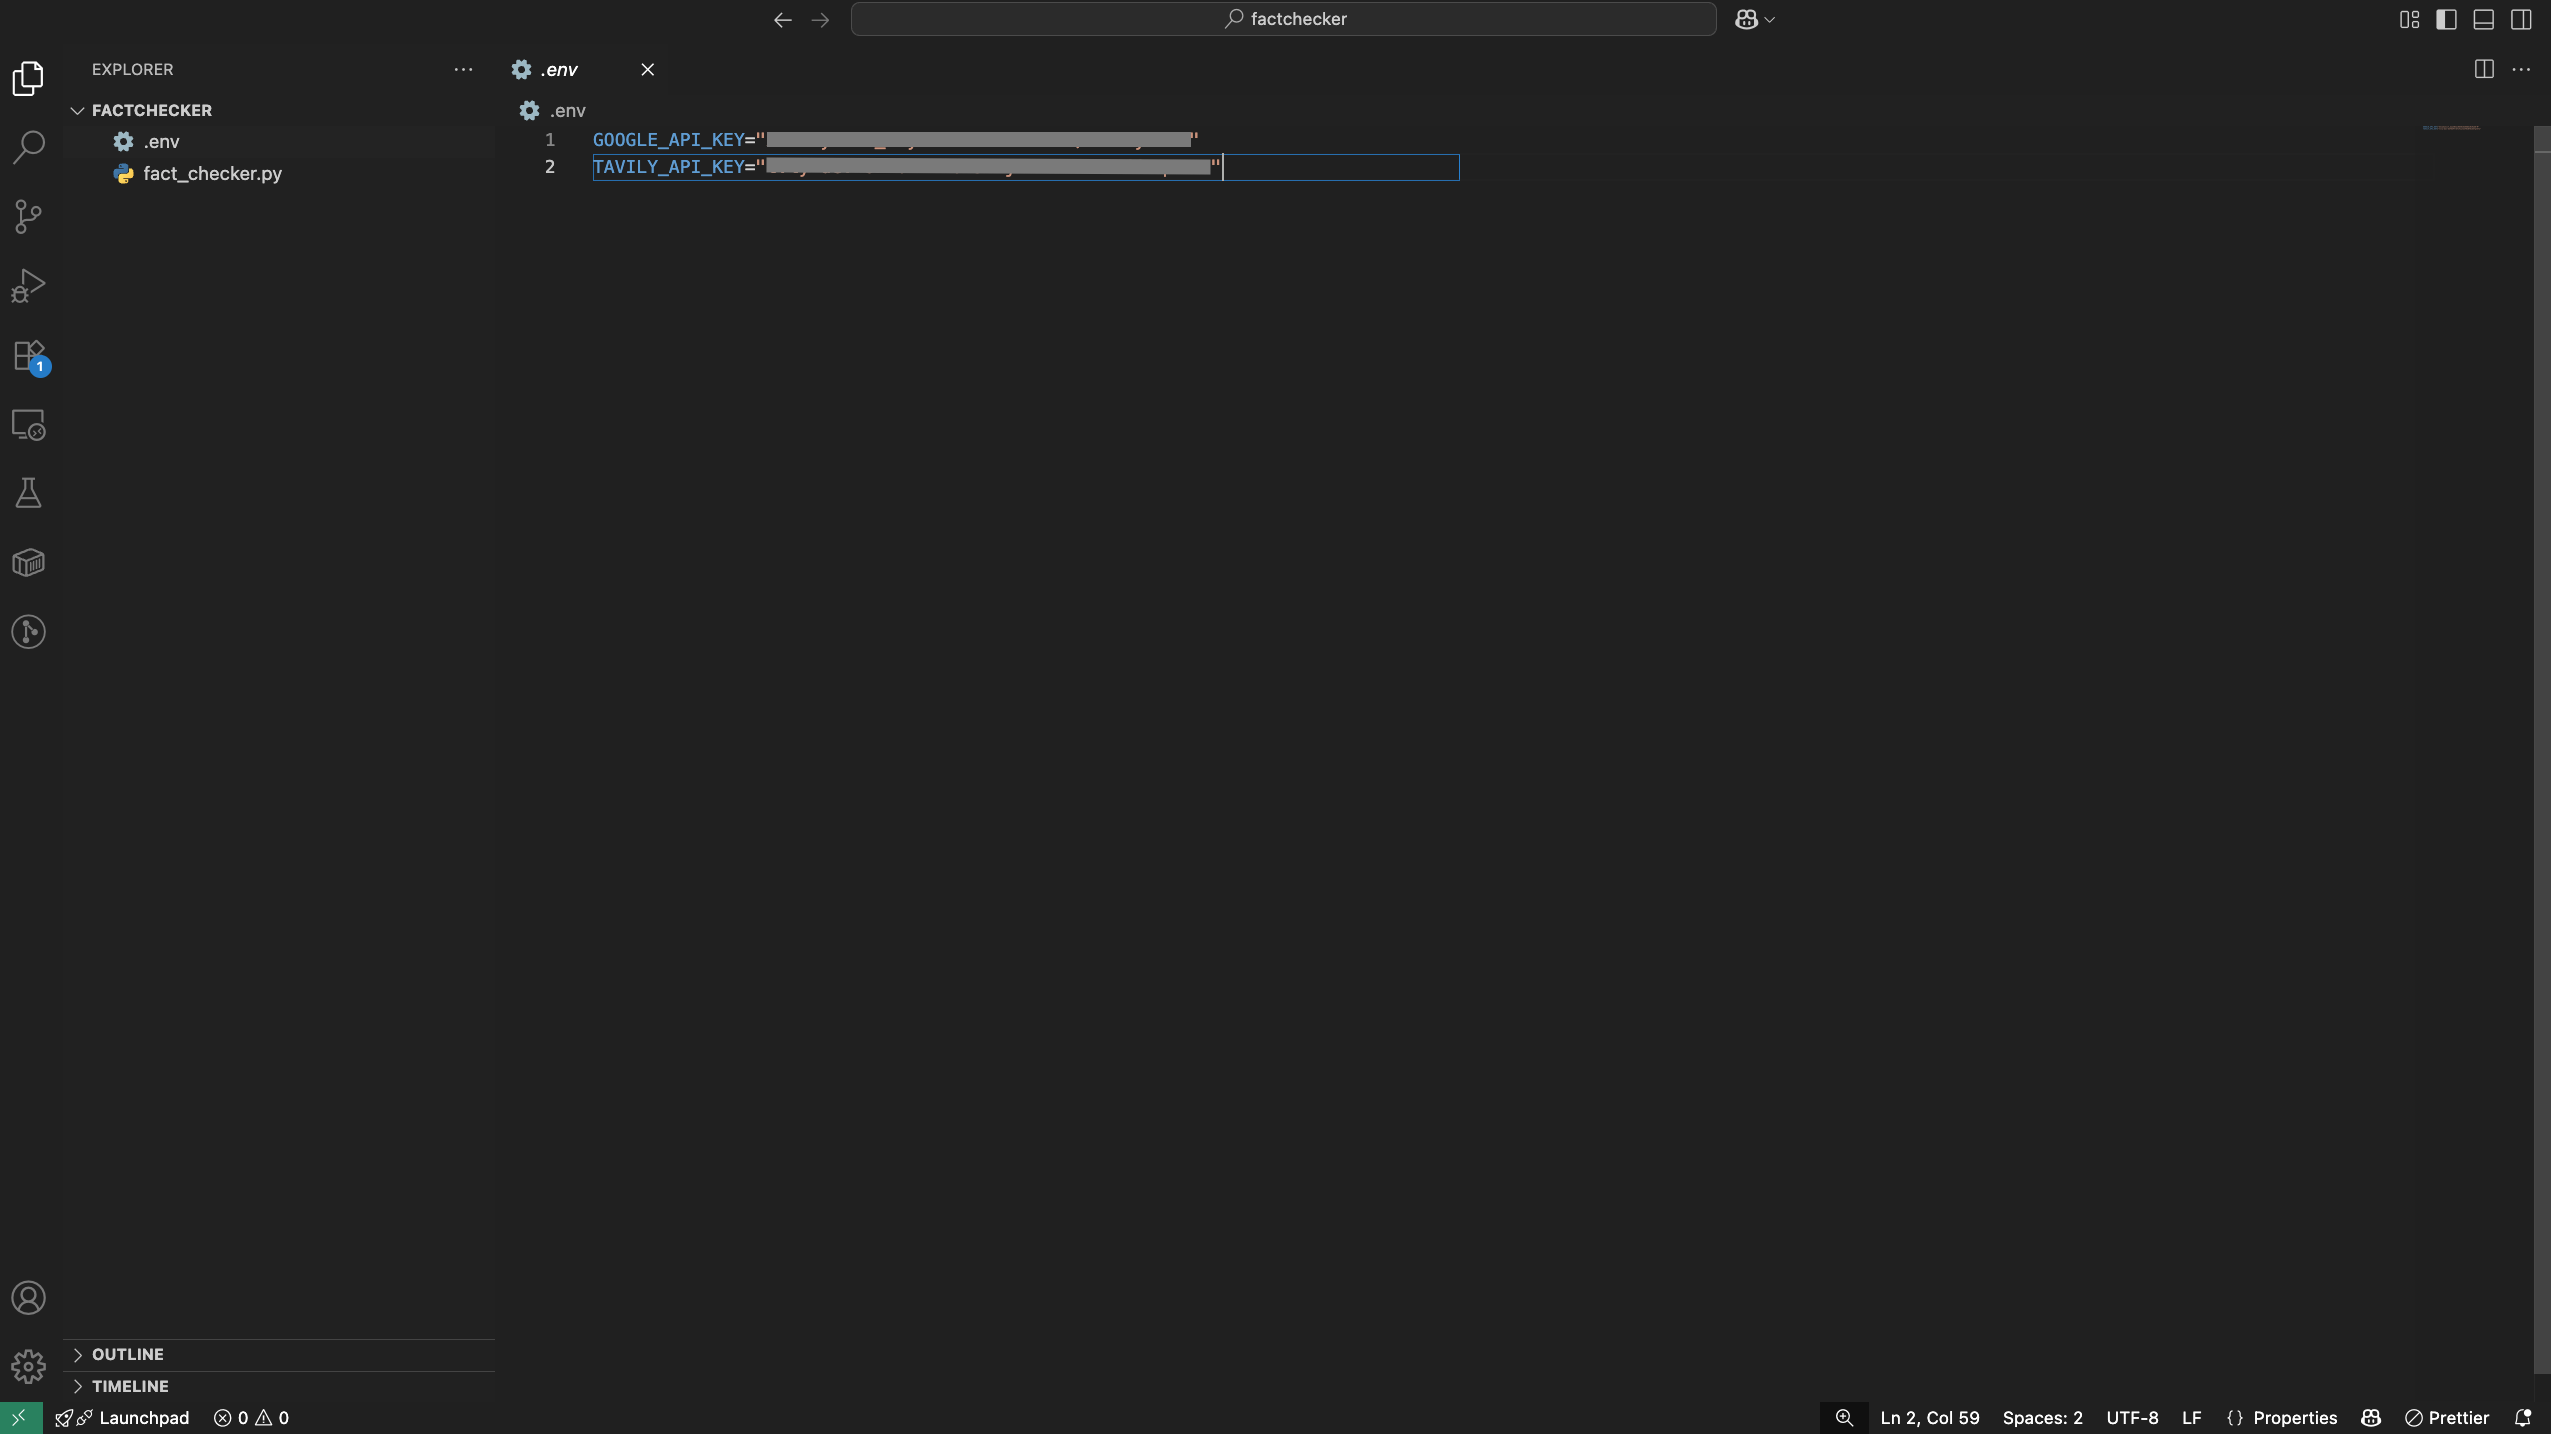
Create a .env file in your project root and add your API keys:
TAVILY_API_KEY=your_tavily_api_key
GEMINI_API_KEY=your_gemini_api_key
Make sure to replace your_tavily_api_key and your_gemini_api_key with the actual keys you obtained earlier.
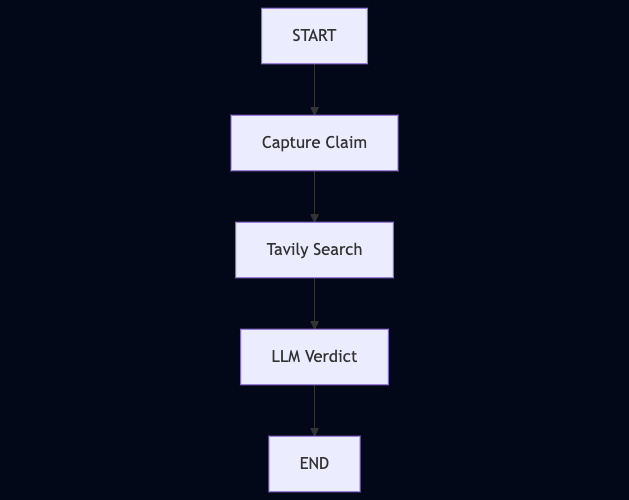
Step 3: Understand the Agent Flow
The agent flow consists of several key steps:
- Claim Node → Captures the user’s claim
- Search Node → Queries Tavily to fetch evidence
- Verdict Node → Uses Gemini to analyze evidence and return a verdict
Here’s a high-level diagram of the flow:
Step 4: Build the Fact-Checking Agent
We’ll now build the agent step by step using LangGraph, which lets us define a workflow as nodes (steps) and edges (connections between steps).
Create a new file named fact_checker.py and add the code step by step.
1. Setup and Initialization
We begin by loading environment variables, setting up memory, and initializing Tavily + Gemini.
import os
from dotenv import load_dotenv
from typing import Annotated
from typing_extensions import TypedDict

from langchain.chat_models import init_chat_model
from langchain_tavily import TavilySearch
from langgraph.graph import StateGraph, START, END
from langgraph.graph.message import add_messages
from langgraph.checkpoint.memory import InMemorySaver

# Load API keys from .env
load_dotenv()
memory = InMemorySaver()

os.environ["GOOGLE_API_KEY"] = os.getenv("GOOGLE_API_KEY")
os.environ["TAVILY_API_KEY"] = os.getenv("TAVILY_API_KEY")

# Initialize LLM and search tool
llm = init_chat_model("google_genai:gemini-2.0-flash")
tavily = TavilySearch(max_results=3)
Here:
dotenvloads your API keys securelyInMemorySaveris LangGraph’s way of remembering conversation statellmis Gemini (via LangChain)tavilywraps Tavily’s search API
2. Define the State
LangGraph works by passing a state object between nodes. We’ll define what pieces of information our agent should carry:
class State(TypedDict):
    messages: Annotated[list, add_messages]   # Conversation history
    claim: str                                # User’s claim
    evidence: str                             # Collected evidence
    verdict: str                              # Final verdict
    sources: list                             # Source links
Think of this as the agent’s “shared notebook” that each step updates.
3. Create Graph Nodes
Each node in LangGraph is just a Python function that takes the state and returns updates.
Node 1: Capture Claim
def claim_node(state: State):
    claim = state["messages"][-1].content  # Get latest user message
    return {"claim": claim}
This node grabs the user’s claim and stores it.
Node 2: Tavily Search
def search_node(state: State):
    results = tavily.invoke({"query": state["claim"]})
    evidence = "\n".join([r["content"] for r in results["results"] if r.get("content")])
    sources = [{"title": r["title"], "url": r["url"]} for r in results["results"][:3]]
    return {"evidence": evidence, "sources": sources}
This node:
- Uses Tavily to search for the claim
- Collects result snippets as evidence
- Extracts the top 3 links as sources
Node 3: Verdict with Gemini
def verdict_node(state: State):
    prompt = [
        {"role": "system", "content": "You are a fact-checking assistant. Always use the provided evidence. Respond with a verdict: TRUE, FALSE, or PARTIALLY TRUE, followed by explanation citing evidence."},
        {"role": "user", "content": f"Claim: {state['claim']}\n\nEvidence:\n{state['evidence']}"}
    ]
    verdict = llm.invoke(prompt).content
    return {
        "verdict": verdict,
        "sources": state["sources"],
        "messages": [{"role": "assistant", "content": verdict}]
    }
Here we:
- Pass the claim + evidence into Gemini
- Ask it to respond with a verdict + reasoning
- Store that verdict back into the state
4. Connect the Graph
Now we link everything together into a workflow:
graph_builder = StateGraph(State)

graph_builder.add_node("claim", claim_node)
graph_builder.add_node("search", search_node)
graph_builder.add_node("verdict", verdict_node)

# Define edges
graph_builder.add_edge(START, "claim")
graph_builder.add_edge("claim", "search")
graph_builder.add_edge("search", "verdict")
graph_builder.add_edge("verdict", END)

graph = graph_builder.compile(checkpointer=memory)
This is the LangGraph magic: instead of spaghetti if/else, we build a graph where each node runs in order.
5. Interactive Runner
Finally, let’s make it interactive so you can test claims in your terminal.
config = {"configurable": {"thread_id": "factcheck-1"}}

def run_fact_checker():
    while True:
        user_input = input("\nEnter a claim to fact-check (or 'quit'): ")
        if user_input.lower() in ["quit", "exit", "q"]:
            print("Goodbye!")
            break
        events = graph.invoke({"messages": [{"role": "user", "content": user_input}]}, config)
        verdict = events.get("verdict")
        sources = events.get("sources", [])
        if verdict:
            print("\n✅ Fact-Check Result:\n", verdict)
            if sources:
                print("\n🔗 Sources:")
                for s in sources:
                    print(f"- {s['title']}: {s['url']}")
        else:
            print("\n⚠️ No verdict was generated.")

if __name__ == "__main__":
    run_fact_checker()
Full Code `fact_checker.py`
    import os
    from dotenv import load_dotenv
    from typing import Annotated
    from typing_extensions import TypedDict

    from langchain.chat_models import init_chat_model
    from langchain_tavily import TavilySearch
    from langgraph.graph import StateGraph, START, END
    from langgraph.graph.message import add_messages
    from langgraph.checkpoint.memory import InMemorySaver

    # ---------------------------
    # Setup
    # ---------------------------
    load_dotenv()
    memory = InMemorySaver()

    os.environ["GOOGLE_API_KEY"] = os.getenv("GOOGLE_API_KEY")
    os.environ["TAVILY_API_KEY"] = os.getenv("TAVILY_API_KEY")

    llm = init_chat_model("google_genai:gemini-2.0-flash")
    tavily = TavilySearch(max_results=3)

    # ---------------------------
    # State definition
    # ---------------------------
    class State(TypedDict):
        messages: Annotated[list, add_messages]
        claim: str
        evidence: str
        verdict: str
        sources: list

    # ---------------------------
    # Graph setup
    # ---------------------------
    graph_builder = StateGraph(State)

    def claim_node(state: State):
        """Capture the claim from the user."""
        claim = state["messages"][-1].content
        return {"claim": claim}

    graph_builder.add_node("claim", claim_node)

    def search_node(state: State):
        """Always search Tavily for the claim."""
        claim = state["claim"]
        results = tavily.invoke({"query": claim})

        # Collect evidence text and top 3 sources
        evidence = "\n".join([r["content"] for r in results["results"] if r.get("content")])
        sources = [{"title": r["title"], "url": r["url"]} for r in results["results"][:3]]

        return {"evidence": evidence, "sources": sources}

    graph_builder.add_node("search", search_node)

    def verdict_node(state: State):
        """LLM compares claim against Tavily evidence and gives final verdict."""
        claim = state["claim"]
        evidence = state["evidence"]
        sources = state.get("sources", [])

        prompt = [
            {"role": "system", "content": "You are a fact-checking assistant. Always use the provided evidence to judge the claim. Respond with a verdict: TRUE, FALSE, or PARTIALLY TRUE, followed by a detailed explanation citing the evidence."},
            {"role": "user", "content": f"Claim: {claim}\n\nEvidence:\n{evidence}"}
        ]

        verdict = llm.invoke(prompt).content
        return {
            "verdict": verdict,
            "sources": sources,
            "messages": [{"role": "assistant", "content": verdict}],
        }

    graph_builder.add_node("verdict", verdict_node)

    # ---------------------------
    # Graph edges
    # ---------------------------
    graph_builder.add_edge(START, "claim")
    graph_builder.add_edge("claim", "search")
    graph_builder.add_edge("search", "verdict")
    graph_builder.add_edge("verdict", END)

    graph = graph_builder.compile(checkpointer=memory)

    # ---------------------------
    # Interactive Runner
    # ---------------------------
    config = {"configurable": {"thread_id": "factcheck-1"}}

    def run_fact_checker():
        while True:
            user_input = input("\nEnter a claim to fact-check (or 'quit'): ")
            if user_input.lower() in ["quit", "exit", "q"]:
                print("Goodbye!")
                break

            # Run the graph fully, not step-by-step
            events = graph.invoke({"messages": [{"role": "user", "content": user_input}]}, config)

            verdict = events.get("verdict")
            sources = events.get("sources", [])

            if verdict:
                print("\n✅ Fact-Check Result:\n", verdict)
                if sources:
                    print("\n🔗 Sources:")
                    for s in sources:
                        print(f"- {s['title']}: {s['url']}")
            else:
                print("\n⚠️ No verdict was generated. Check your graph logic.")

    if __name__ == "__main__":
    run_fact_checker()
Step 5: Run Your Agent
python3 fact_checker.py

Congratulations! You’ve just built an AI agent using Tavily + LangGraph + Google Gemini. 🎊
That’s a full end-to-end AI workflow from raw input to a grounded, explainable output.
If you’re using LangSmith, you can even inspect a trace of this workflow to see how each node executed, what data was passed, and how the final response was generated. This is incredibly useful for debugging and improving your agent.
Next Steps
Now that your agent is up and running, here are some ideas to take it further:
- Add memory - so your agent can remember previous claims in a session.
- Human-in-the-loop approval - ask a person to confirm verdicts before finalizing.
- Deploy as an API - wrap your agent in a FastAPI or Flask app.
- Create a UI - use Streamlit or React to make a simple web-based fact-checker.
- Expand the workflow - add extra nodes (e.g., summarizer, source-ranking, or even a “confidence scorer”).
✨ Agents are the future of AI and now you’ve built one yourself.

Shubhendra Singh Chauhan
Dev 🥑 | Open-Source & Community 💖 | Mozilla Rep | Curating ossbytes.dev 📩